So...curious minds have been wondering. How in the world does she have time to make her own soy milk each week? Well, I'm here to tell you once again, it's super easy! Here's the process I go through:
Step 1: Get out the raw almonds and dry soybeans (purchased in bulk at Winco)
Step 2: Measure out the nuts and beans (about 1/3 of a cup or so) in the proportions you desire. When making milk, I always do two batches to fill a pitcher. You can do all nuts for nut milk, all soy for pure soy milk, or a mixture, which I prefer. I do approximately 1/4 almonds to 3/4 soybeans. Dump into a container that can be filled with water and soak until the beans are hydrated (I usually dump them in the night before to make it in the morning, or in the morning to make in the afternoon.
 |
| Soaking the beans and nuts |
 |
| continue soaking until beans are hydrated |
Step 3: Dump hydrated soybeans and almonds into the SoyaPower Plus soy milk machine and fill with water (there is a fill line inside the pitcher). Attach top, plug in, and start her up!
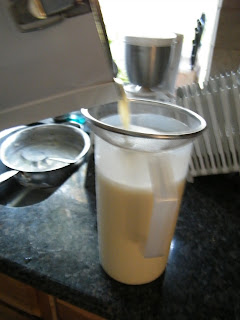
Step 4: In about 15 minutes when the milk has been made, strain it into a pitcher (separates out all the okara or pulp stuff left over). I typically compost my okara but it can also be used in other recipes as a filler. Then, refrigerate and enjoy!
 |
| Okay, this is a poor picture but I'm dumping the prepared (and VERY HOT) soymilk into the pitcher through a fine metal mesh strainer. |
Ta-da! Now you know how I'm such a super star. Okay, not really. But it's really that simple! A lot of people like to add a little sugar or vanilla to their batches, though I've developed a palette for my milk to be straight up with nothing added. Variations on the types of beans, nuts, or rice can change the taste dramatically so there is a spectrum of taste to be sampled. Yummy, yummy!


No comments:
Post a Comment